Showing posts with label homemade. Show all posts

Thursday, October 03, 2013

Mini Notebooks - what a great gift and they are so cute!


I saw these mini notebooks on the Girl On The Go Blog and thought this is such a great idea! And it is so easy! I knew that I had to share it with all of you! I plan to make these for my granddaughters and one for me. I just love to have something to write on in my purse.

The following was taken from Kellie's Blog:


notebooks 3


I think they are so cute when they are all lined up! I made 18 little books to go in the bags and I once again used the patterns from my Reprodepot Pattern Book. Here are the steps to making a mini notebook for yourself.

notebook 1


First of all, decide what size you want it to be. I made mine 3” x 2.5” when folded so when it’s flat the cover is 3” x 5”. That way, if you use an 8.5” x 11” sheet of paper, you can get 5 out of one sheet. Print and then cut your cover to size. I used cardstock for the cover.

notebook 7

For the pages I used regular computer paper but you could also use graph paper (I later made another one with graph paper) and it is so cute! I just didn’t have enough graph paper on hand to make all the books I needed so I used plain white. You could also used a mixture of papers as long as they are all light weight. Cut the plain paper to the same size (3” x 5”).
notebook 2

Fold all of your sheets of paper and your cover in half. You can already see it looking like a little book. I used 10 sheets of paper per book. My sewing machine couldn’t handle any more than that!notebook 3


For the ribbon place holder, put a small piece of double sided tape onto 
the top of the inside fold of the cover and place one end of the ribbon 
onto it. Then assemble the book again. I cut my ribbon to 4”.

notebook 4

Flatten out your book making sure that everything is lined up correctly and sew a straight stitch along the fold down the center. I used a contrasting thread for fun.

notebook 5

notebook 6


Fold your book again and ta-da! You are done! Aren’t they so cute? I love to carry a little notebook with me in my purse and these are just the right size.
.

Wednesday, September 11, 2013

How To Make Ganache - Haven't you always wanted to know how?

I love cakes that have Ganache icing on them. It just tastes so good! OK - I just love cakes! Although I am a mature woman (will not tell her age unless pressed for it), I have always been apprehensive about making Ganache icing. 

Well guess what! I found a recipe that looks so easy on Little Delights Cakes Blog . Now this does looks easy and I plan to try it. I wonder if you could use peanut butter chips - what do you think?


Here is my favorite ganache recipe:

1 cup heavy whipping cream
3/4 cup semi sweet chocolate chips
2 TBL unsalted butter

 
Place the chocolate chips in a bowl then warm 1 cup heavy whipping cream and 2 tbl butter until you start to see little bubbles on the edges but not to a full boil. You can do this on the stove or in the microwave in increments of 45 seconds, stirring in between. Pour the warm cream over the chocolate chips and let it sit for 5 minutes. Then stir until the chocolate is completely melted, at this point you can add some vanilla to taste if you like.

If you want your cake to keep its glossy look make sure it is the temperature it will stay until served before you pour the ganache over the cake. (Ie: If you need to keep your cake refrigerated make sure the cake is cold when you pour the chocolate on it.)

Saturday, September 07, 2013

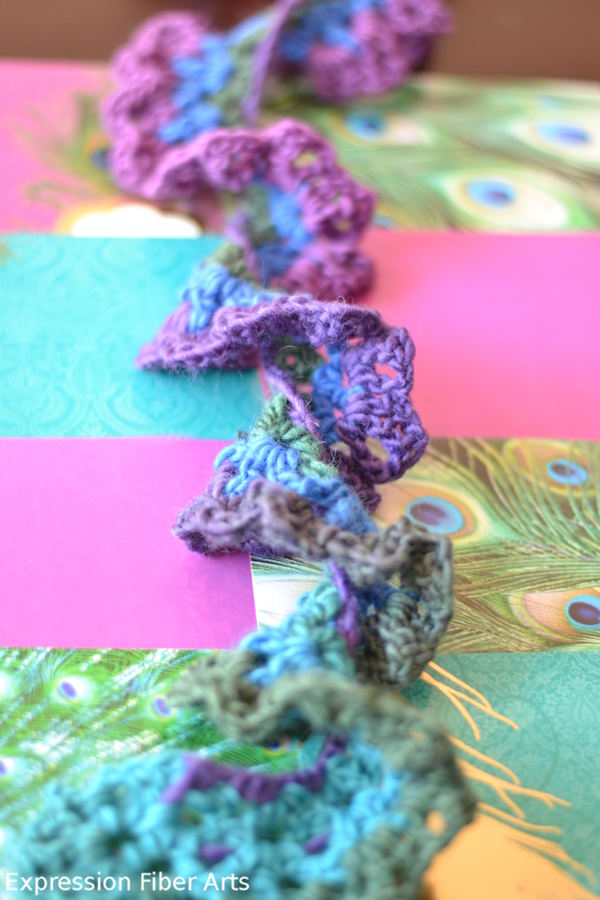
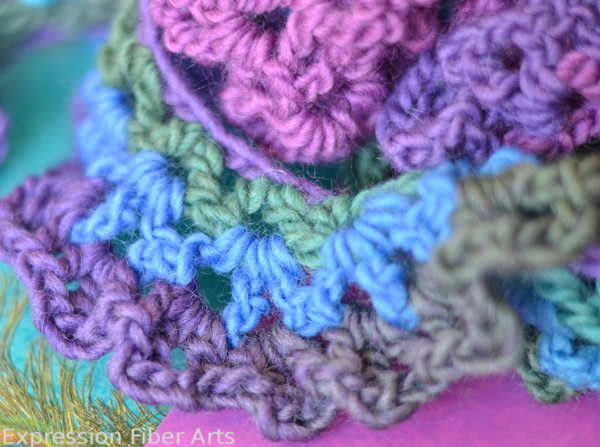
“Through the Spectrum” – Spiral Crochet Scarf Pattern – FREE!


This is such a pretty crocheted scarf!! I love the colors! And the pattern is free. I just thought this would be a great Christmas gift and looks very easy to do. This pattern was from Expression Fiber Arts site.

free crochet scarf instructions how to 
Here are the instructions:

Yarn: Expression Fiber Arts Spectrum Wool, 1 skein, in Peacock Dewdrop. 
Hook: Size H
Pattern:  Ch 222.
Row 1: Sk 5, (dc, ch 2, dc) in next st. *Sk 2 ch, (dc, ch 2, dc) in next st. Repeat from * across. Turn.
Row 2: Ch 3. *(dc, ch2, dc, ch2, dc) in next ch2 sp. Repeat from * across. Turn.
Row 3: Repeat Row 2.

free crocheted scarf pattern peacock 

Thursday, April 12, 2012

Vintage Baby Quilt


Vintage Baby Quilt by YoYo Mama. 

I saw this easy baby quilt on the Ingrid Barlow Site and thought "Well, that's a great idea!". I am always looking for an easy way to do things. I also thought that maybe I could just put appliques on it. So many ideas - so little time! 

This is what Ingrid had to say: "You simply place your little squares on top of another piece of fabric + batting + backing, and you sew down the edges.  Throw it in the wash and poof!  There you have it.  This is a good one for all you wanna be quilters.  No piecing involved!".

Tuesday, April 03, 2012

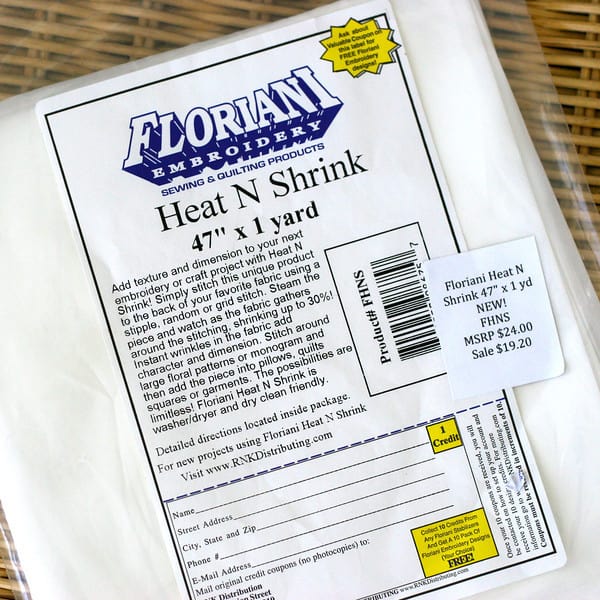
FLORIANI HEAT N SHRINK AND FREE-MOTION QUILTING

\


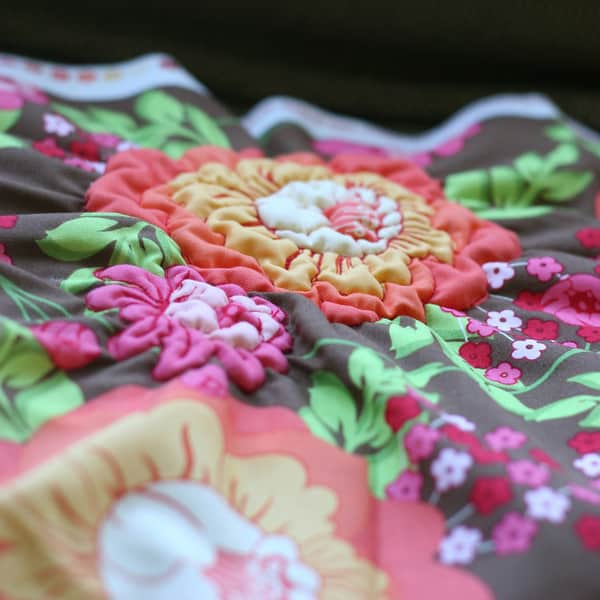
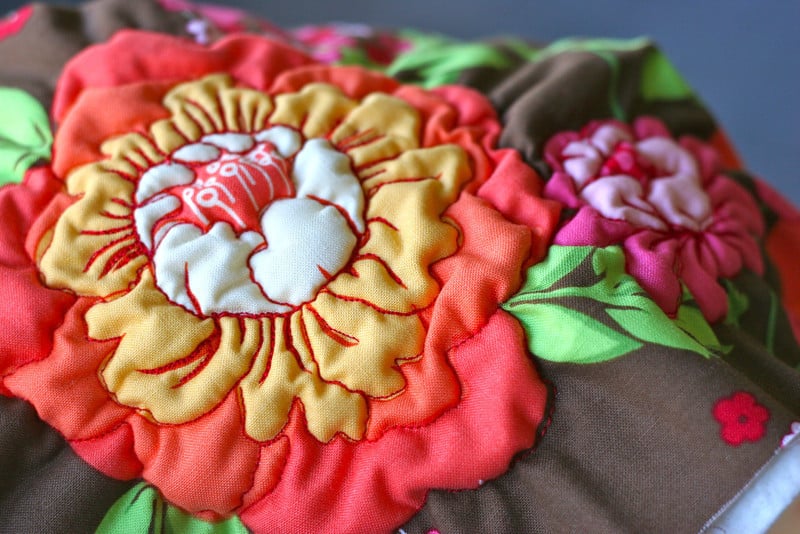
This is so neat! You take a fabric that has flowers or any shape that you want to make puffy. You will use Floriani Heat N Shrink with some batting and sew the lines of the flower. Then you you steam it and it puckers up! The uses are endless - applique on a wall hanging, quilt, purse, or you can do the entire piece of flowered fabric and use it to make a child's dress or nightgown.


The directions come from the Prudent Baby site  and they are very clear to understand. This should be easy to make.


Above is the Heat N Shrink that was used and although a little pricey, it will last you for many designs. The site has additional pictures that you can see the difference in flowers that this method is used on and other flat flowers. 
Below is some of the directions that is on the site:
  • I cut a square the size of the large flower in my Sandi Henderson Fabric. Then I layered a square of low-loft batting in-between the Heat N Shrink and the back of the fabric, pinning in place.(The batting is optional but does add a nice puff to the petals.) 
  • Next I attached my quilting foot and lowered my feed dogs so I could try some free-motion quilting around the edge of the flower. Then just stitch along every line of the design. It takes a little practice, mostly you have to remember to move your fabric by hand. 
  • Since your fabric will be all bunchy later, it doesn’t have to be perfect. 
  • You can stitch lines, grids, dots or any design


Monday, March 19, 2012

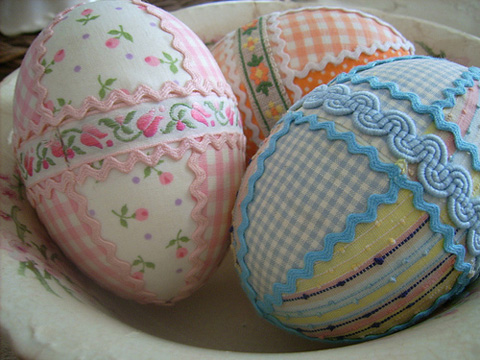
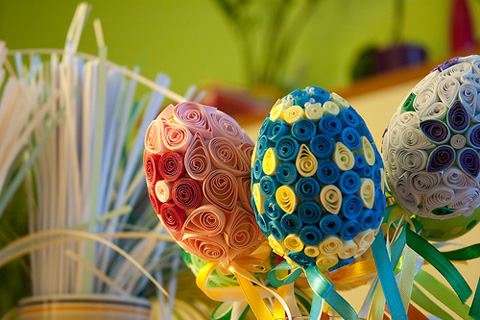
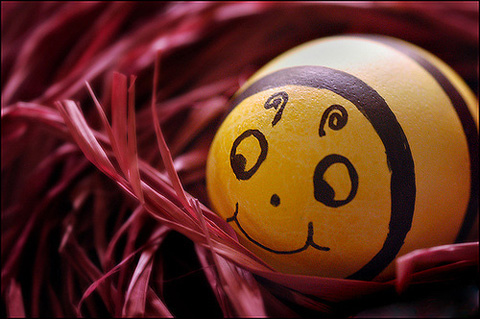
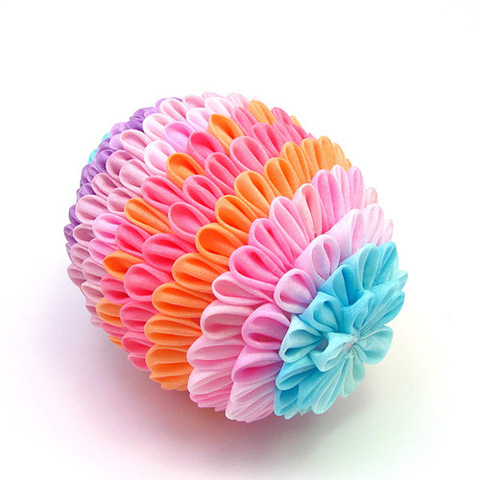
10 Easter Eggs Decorating Ideas

Here are some pictures of Easter egg decorating ideas. They did not give a tutorial but look easy to figure out. Anyway, you can look at these pictures and create your own.


decorative easter eggs
Photo credit: Wish on a Whisker
decorative easter eggs
Photo credit: Rafał Wójcik
decorative easter egg
Photo credit: DyeDye

Photo credit: dotcomwomen
easter egg